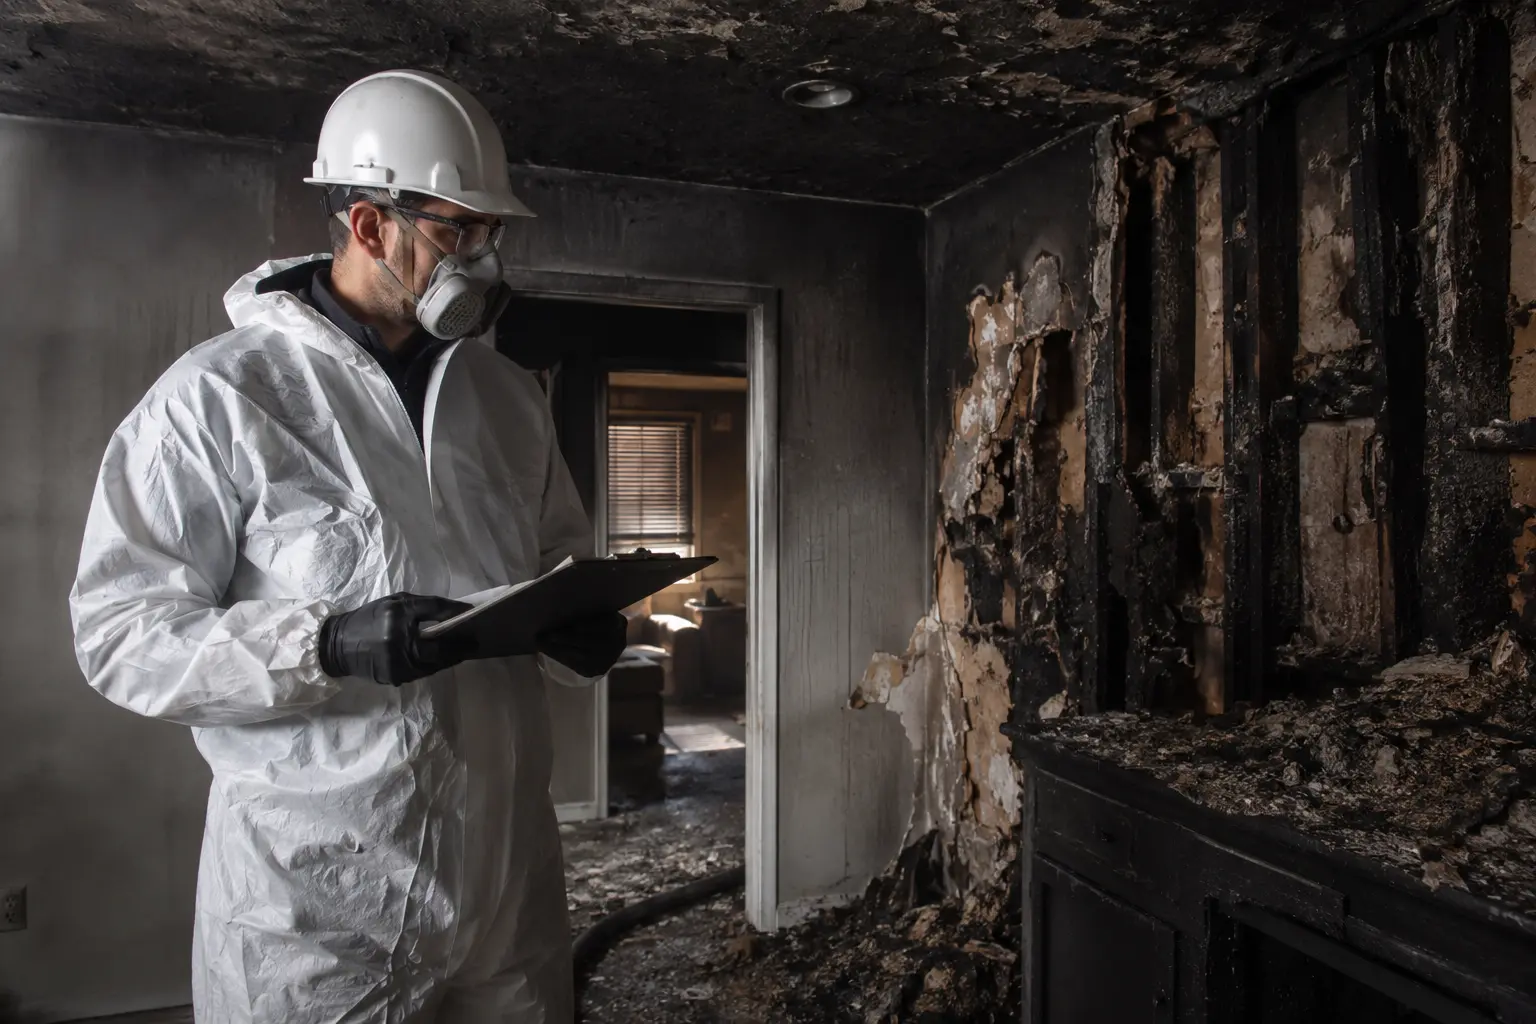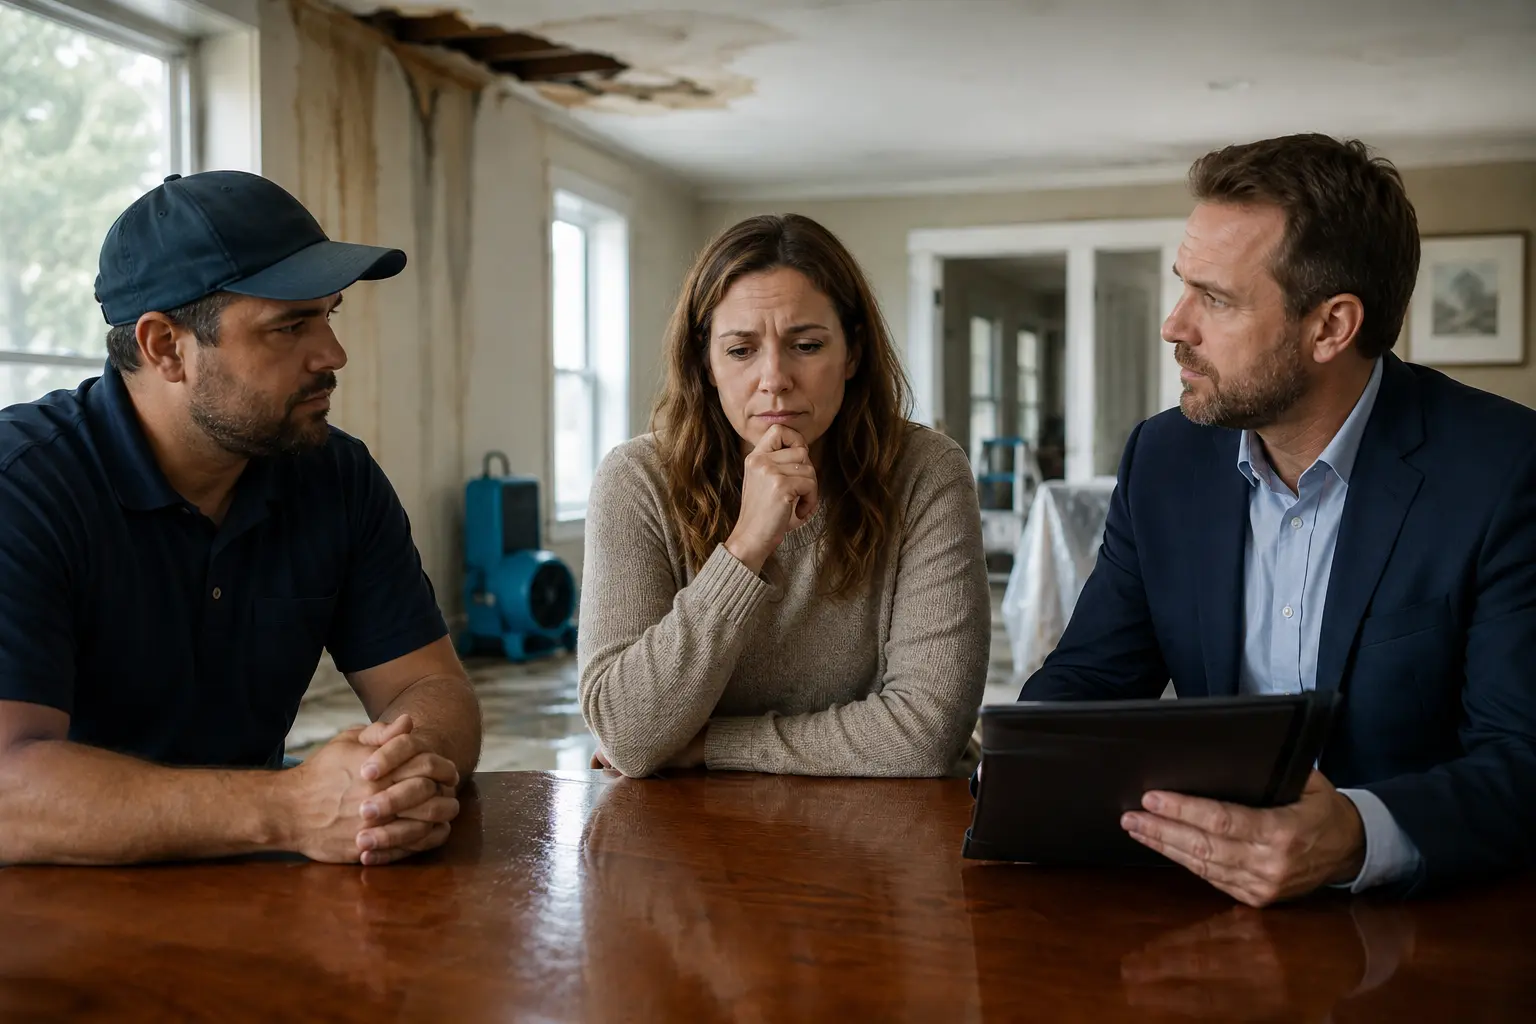
Mold prevention after water damage is not a single action. It is a sequence of decisions made during the first 24 to 72 hours after a water event, and then again throughout the drying and rebuilding process. Every step matters because mold does not wait, and the conditions that allow it to establish itself develop faster than most property owners expect.
The 24 to 48 Hour Window: Why It Defines Everything
The single most important fact about mold prevention after water damage is that mold can begin developing within 24 to 48 hours of water exposure under typical indoor conditions. This is not a worst-case estimate; it is the standard timeline under normal room temperature conditions with adequate moisture. In warmer conditions, common during Los Angeles summers, this window can be shorter. This means that the decisions made in the first day after discovering water damage, including whether to call for professional help immediately or wait to see what happens, directly determine whether mold prevention is even achievable.
Properties where water was addressed within the first few hours consistently see lower mold risk and shorter overall recovery timelines than those where water sat for even a single day before mitigation began. This is not about spending more money unnecessarily; it is about the physical reality of how quickly mold conditions develop in wet building materials at normal indoor temperatures.
Step 1: Stop the Water Source Immediately
Mold prevention cannot begin while water is still actively entering or spreading in a property. The very first action in any water damage situation is stopping the source. For internal plumbing failures, this means shutting off the water supply to the affected fixture or, if the source cannot be isolated quickly, shutting off the main water supply to the property. For roof leaks during active rain, this may mean emergency tarping of the affected area. For appliance failures, unplugging or shutting off the appliance and closing the supply valve if accessible.
Every minute a water source continues adding to the affected area expands the eventual mitigation scope and shortens the window for preventing mold in the materials already affected.
Step 2: Begin Water Extraction as Soon as Possible
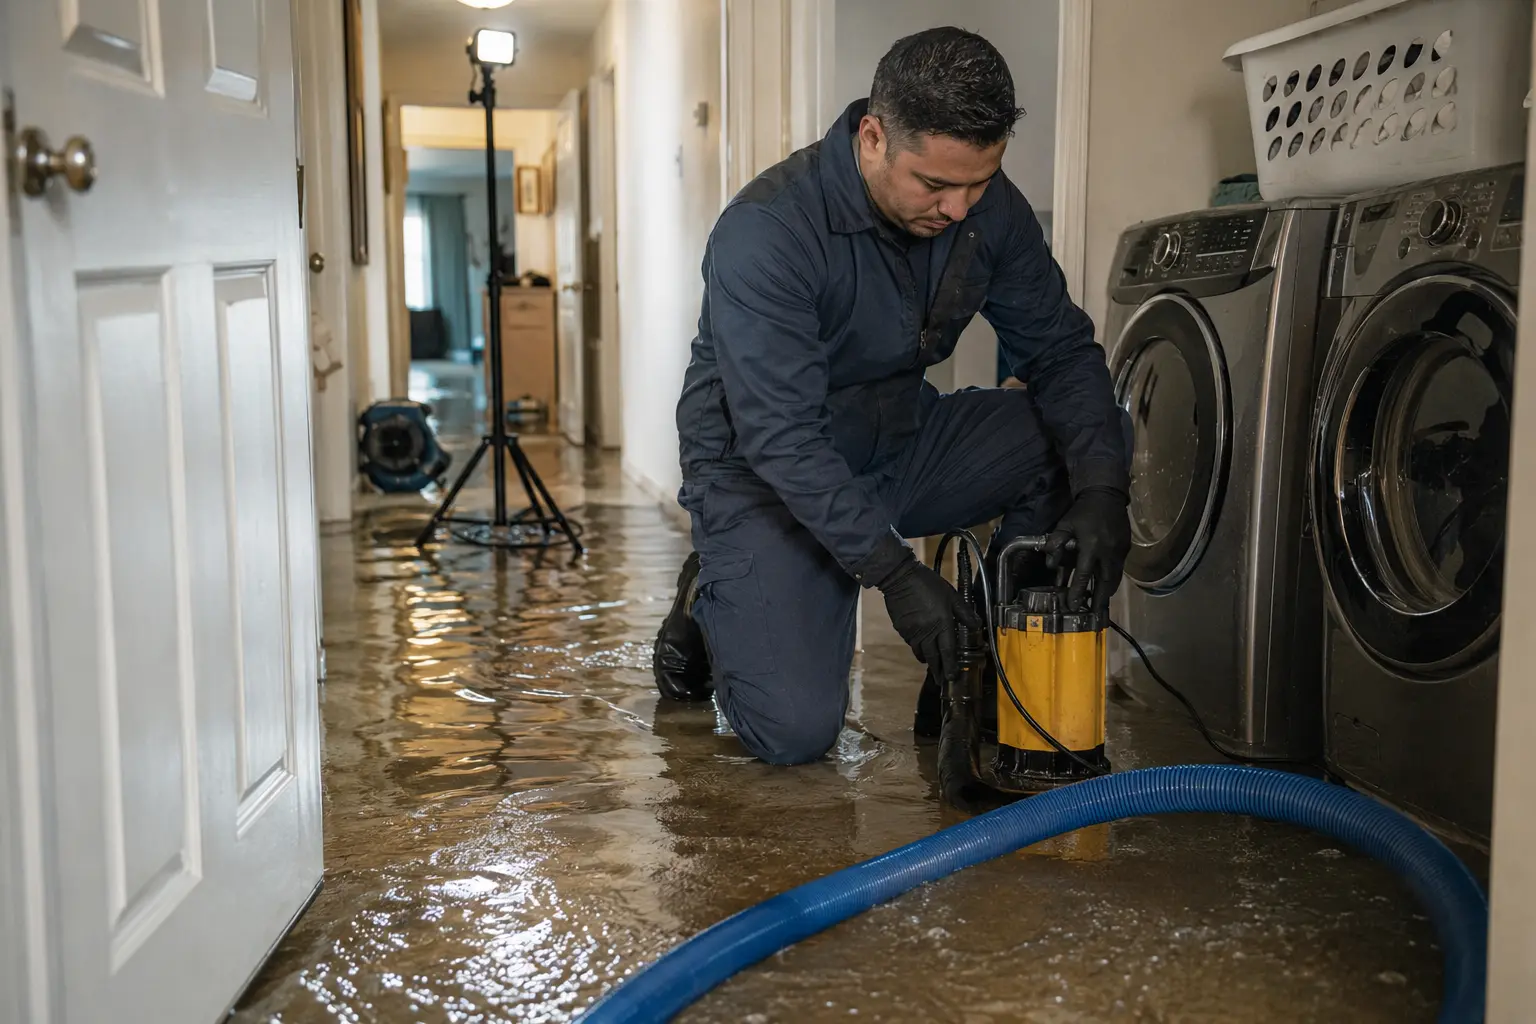
Standing water extraction is the highest-priority mitigation action because standing water continues to be absorbed by surrounding materials as long as it remains. The longer water stands, the deeper it saturates into flooring, the higher it wicks up drywall, and the further it spreads into adjacent rooms and wall cavities. Professional extraction using truck-mounted or portable extraction equipment removes water far more completely and quickly than any consumer-grade wet/dry vacuum, and speed here is directly proportional to the eventual scope of materials affected.
While waiting for professional help to arrive, removing obvious standing water with towels, mops, or a wet/dry vacuum reduces ongoing spread even if it does not constitute a complete extraction. Every gallon removed before professional equipment arrives is material that did not soak further into the structure.
Step 3: Remove Materials That Cannot Be Saved
Certain materials absorb and hold moisture in ways that make them impossible to dry completely while they remain in place, and leaving them creates a persistent moisture reservoir that supports mold growth regardless of how much drying equipment runs in the room around them.
Carpet padding is the most common example. It absorbs water like a sponge and retains it far longer than the carpet on top of it or the subfloor beneath it. In virtually every significant water event, carpet padding needs to be removed even if the carpet itself might be salvageable.
Saturated insulation in walls or ceilings similarly retains moisture long after adjacent materials have dried. Leaving wet insulation in place dramatically extends the time wet conditions persist in the wall cavity, creating ideal mold conditions for weeks rather than days.
Drywall wet above the midpoint or showing physical damage such as softening, delamination, or crumbling needs to be removed rather than dried in place. Attempting to dry heavily saturated drywall in place usually results in mold developing in the paper backing even when surface moisture readings eventually improve.
Step 4: Deploy Proper Drying Equipment and Keep It Running
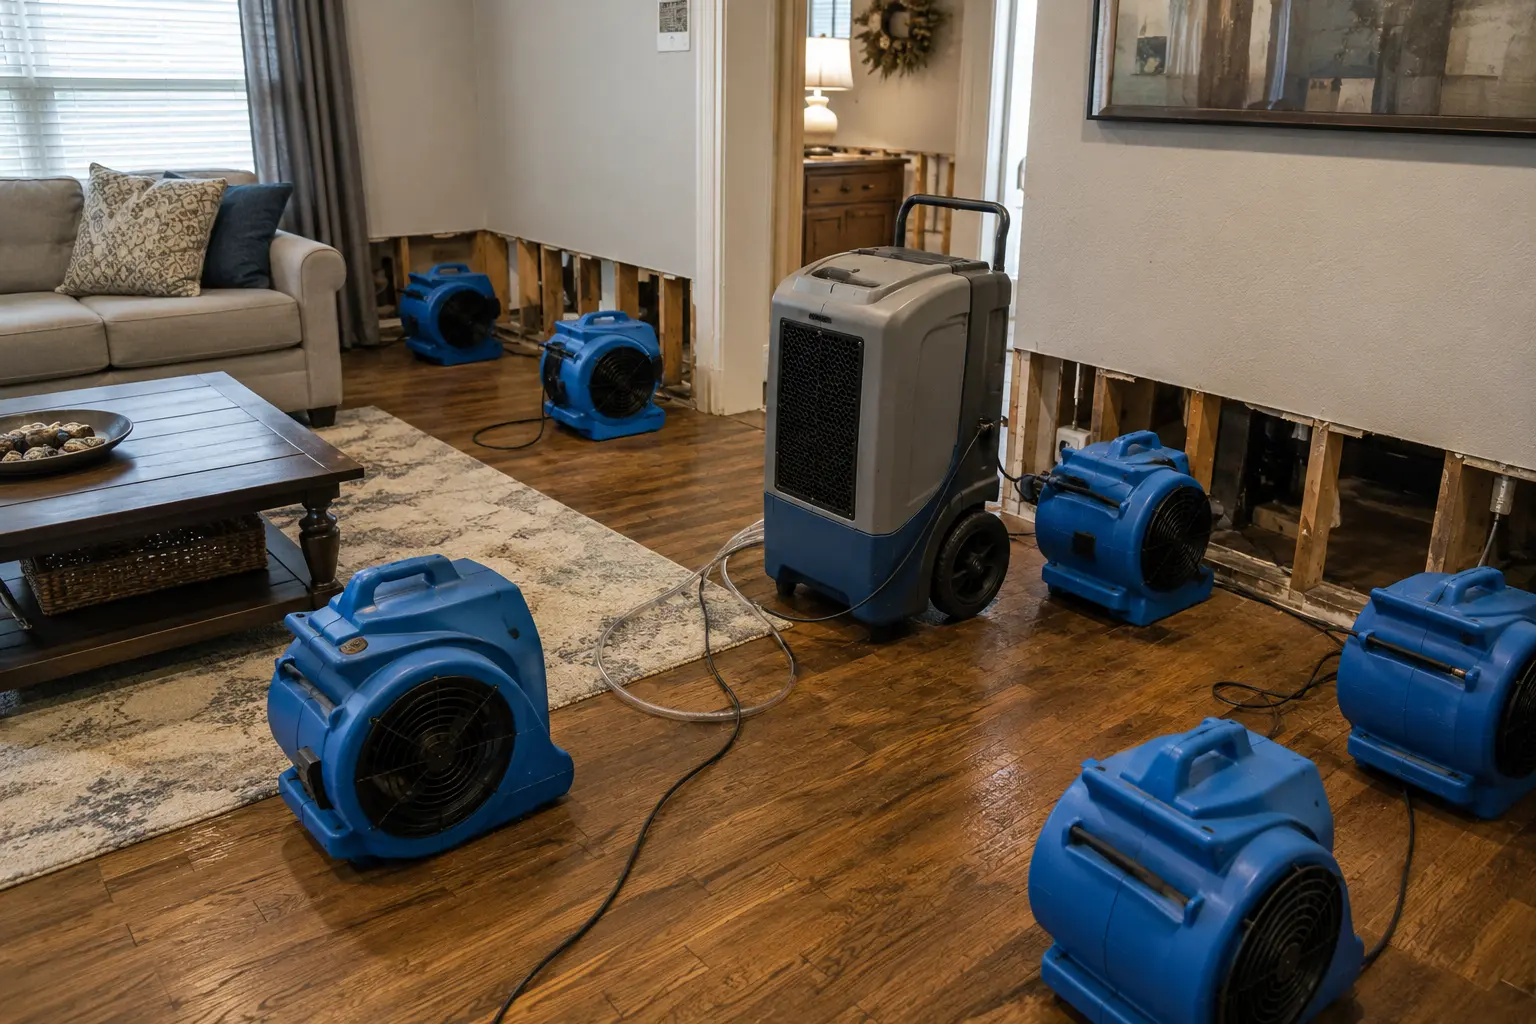
Air movers and dehumidifiers need to be correctly calculated for the affected area and run continuously until moisture readings confirm the structure has reached a genuinely dry baseline. Two common mistakes undermine this step: under-equipping the job with too few air movers or dehumidifiers, and turning equipment off at night to reduce noise or electricity use. Both extend the drying timeline and increase mold risk by allowing moisture levels to rise again during periods when equipment is not running.
The connection between air movers and dehumidifiers working together as a system, and why both are necessary rather than just one or the other, is covered in detail in our guide on structural drying vs dehumidification.
Step 5: Monitor Moisture Levels Daily, Not Just Visually
Visual dryness and actual dryness as measured by a moisture meter are not the same thing. A wall can feel and appear completely dry to the touch while still holding moisture content well above the threshold that supports mold growth, particularly in the framing and cavity behind the visible drywall surface. Daily moisture readings throughout the affected area track actual drying progress and confirm when the structure has genuinely reached a safe baseline rather than guessing based on how things look or feel.
Step 6: Apply Antimicrobial Treatment Before Rebuilding
After materials are removed and the remaining structure is confirmed dry, antimicrobial treatment of exposed framing and surfaces adds a protective barrier before new drywall and other materials are installed. This step matters particularly for any event where gray or black water was involved, or where the drying process took an extended period, since both situations increase the microbial load on structural surfaces compared to a clean, quickly-addressed water event.
Antimicrobial treatment is not a substitute for proper drying; it is a final protective step applied to a surface that has already been confirmed dry and properly cleaned. Applying it over still-wet material provides no meaningful protection.
Step 7: Do Not Rebuild Until Readings Confirm Readiness
This is the step most often skipped when homeowners or contractors want to move quickly back to a normal-looking space. New drywall installed over framing that still holds above-normal moisture content traps that moisture inside the wall, where it continues to support mold development in the dark, enclosed environment behind the new surface. The mold that results from this shortcut typically does not become visible until months later, by which point it has often colonized a larger area than the original affected zone and requires reopening the wall to address.
Moisture readings, not calendar days and not visual appearance, are the only reliable confirmation that a structure is genuinely ready for rebuilding.
What to Do If You Discover Water Damage Days After It Happened
If water damage has been sitting for a day or more before being discovered, mold prevention becomes mold management rather than pure prevention, since conditions for mold development have likely already been present long enough to initiate growth even if it is not yet visible. In these situations, the appropriate response shifts to assuming mold may have already begun and treating the mitigation process accordingly, including antimicrobial application starting from the first day of work and considering air quality testing as part of the initial assessment.
How Los Angeles Climate Creates Specific Mold Prevention Challenges
The long, dry Los Angeles summer creates a false sense of security about mold risk that can lead to deferred maintenance of moisture-related issues. Leaks that are dormant during the dry season, roof vulnerabilities, failing plumbing joints, and degraded window seals reactivate with the first significant winter rains. Addressing these vulnerabilities during the dry months, when conditions are most favorable for repair work, is consistently more cost-effective than addressing them after they have produced water damage during a rain event.
How Older Los Angeles Properties Face a Higher Mold Prevention Challenge
Properties built before the 1980s across many Los Angeles neighborhoods were constructed before modern moisture barriers, vapor retarders, and water-resistant building materials became standard practice. These older homes often have no vapor barrier between exterior walls and the interior finish, meaning moisture that enters through the building envelope has a more direct path into living spaces and structural materials than a modern home would allow. Older galvanized plumbing is more prone to pinhole leaks that introduce small but continuous amounts of moisture into wall cavities. Single-pane windows, still common in older properties, create consistent condensation on cold surfaces during winter months.
For these properties, mold prevention after a water damage event needs to account for the fact that the building itself is less moisture-resistant than newer construction, which often means a more conservative approach to drying timelines, more thorough investigation of adjacent areas beyond the obvious affected zone, and a higher index of suspicion for pre-existing moisture conditions that may be revealed when walls are opened during mitigation.
How to Manage the Drying Period When You Are Still Living in the Home
Most water damage events don’t require leaving the home entirely, but the drying period does require some practical adjustments to daily life that are worth understanding before the equipment is set up rather than after.
Drying equipment runs continuously, including overnight, because stopping it for even eight hours allows moisture levels in the structure to partially rebound, extending the overall drying timeline significantly. This means accepting a continuous background noise level from air movers for the duration of the drying period, typically three to seven days for moderate events. For bedrooms adjacent to or near the affected area, a fan’s white noise is manageable for most people but can be genuinely disruptive for light sleepers or households with young children. Asking the restoration company upfront whether any equipment repositioning options exist to reduce nighttime noise near sleeping areas is worth doing, since sometimes minor adjustments in equipment placement can reduce bedroom-adjacent noise without significantly compromising drying efficiency.
The affected room itself should be treated as off-limits during active drying, both to avoid disrupting airflow patterns and to prevent accidental moisture reintroduction from occupant activity. If the affected room is a bathroom and it is the only bathroom in the home, this is worth flagging immediately so the restoration company can prioritize its drying timeline or discuss whether any functional access can be maintained safely during the process.
How Children and Pets Should Be Managed During Restoration Work
Children and pets have different risk profiles from healthy adults during water damage restoration work, and understanding this helps make appropriate decisions about where they should be during different phases of the work.
For clean water events with no mold involvement, the main concern for children and pets in the home is physical safety around equipment, particularly air movers that can be trip hazards and have exposed moving parts. Keeping young children and pets out of the work area while technicians are present and out of rooms with unattended equipment running is sensible precaution rather than a strict health requirement.
For gray or black water events, or for any mold remediation work, children and pets should be kept entirely out of the affected areas throughout the work period and ideally should be relocated to another part of the home or elsewhere during the most active work phases. Children’s respiratory systems are more sensitive to airborne mold spores and contamination aerosols than adults, and pets, particularly cats and dogs who groom themselves, face ingestion risk from contaminated surfaces that adults do not. These are genuine health considerations rather than overly cautious recommendations.
What Documentation You Should Keep Throughout the Restoration Process
Even if you are not planning to file an insurance claim, maintaining a basic documentation record throughout the restoration process protects you in several ways that may not be immediately obvious.
Take photographs before, during, and after each phase of work, including the initial damage, the equipment setup, any materials removed, the exposed framing before rebuilding, and the finished restoration. These images create a visual timeline that supports an insurance claim if you decide to file one later, provides evidence if any dispute arises about whether restoration was completed properly, and documents the pre-existing condition of your property if any related issue arises during a future sale or renovation.
Keep copies of all written estimates, invoices, moisture reading reports, and any written communications with the restoration company. Request copies of moisture readings specifically if they are not offered automatically, since these are the technical documentation that confirms drying was completed to a proper standard rather than stopped prematurely.
Note the date and time the damage was first discovered, the date and time professional help was first contacted, and the date and time mitigation work actually began. This timeline supports both insurance claims and any future conversation about whether mold that develops later is related to this event or predates it.
Long-Term Habits That Reduce Mold Risk After Recovery
- Keep indoor humidity below 50% consistently. A digital hygrometer in regularly used spaces helps track actual humidity rather than relying on general impressions. If readings consistently run above 60%, a portable or whole-home dehumidifier is worth adding.
- Run bathroom exhaust fans for 20 to 30 minutes after showers, not just during. Most of the moisture a shower produces continues evaporating after the water turns off.
- Check under sinks and around appliances periodically for any slow drips or moisture accumulation that could indicate a developing slow leak.
- Inspect the attic briefly after each significant rain event during the storm season to catch any new roof leak before it causes visible ceiling damage.
- Address any new water stains, musty smells, or moisture signs promptly rather than monitoring them over time, since every day a new moisture source goes unaddressed extends the mold risk window.
If you have recently dealt with water damage anywhere in Los Angeles and want to ensure the recovery was thorough enough to genuinely prevent mold, our team can conduct a post-recovery moisture verification to confirm the structure is in sound condition before the next storm season begins. See our guide on can mold come back after remediation for what this verification process involves.
Dealing with water damage and want to prevent mold from developing? Call ASAP Water Damage Restoration for immediate mitigation and a thorough drying process that gives mold the least possible chance to establish itself, available 24/7 across Los Angeles.
What to spray to prevent mold after water damage
Use an EPA-registered mold-inhibiting spray on dried surfaces; non-toxic options are best around children and pets. Sprays prevent surface mold but do not fix moisture trapped inside materials.
Here’s how the common options compare:
| Product Type | Best For | Notes |
|---|---|---|
| Concrobium Mold Control | Walls, floors, general prevention | Non-toxic; protects surfaces over time |
| Microban / antimicrobial sprays | Stopping mold and bacteria | Adds an inhibiting layer on surfaces |
| EPA-approved mold inhibitors | Post-water-damage prevention | Designed for various surfaces |
| Bleach solution (CDC) | Small visible mold under 10 sq ft | 1 cup household bleach per gallon of water |
| Undiluted white vinegar | Soft surfaces, light prevention | Gentler, non-toxic option |
Sprays only treat surface mold. Mold from water damage often penetrates deeper into materials, so spraying a wall that’s still wet inside won’t stop it. Drying the structure comes first; spraying is the final layer.
Keep reading
- How to Check for Mold After Water Damage
- Does Insurance Cover Water Damage, Mold, or Flooding?
- Can Water Damage Cause Mold Even After It Looks Dry?
Need help now? See our Mold remediation in Los Angeles or call (323) 677-2811, 24/7.