Water damage is rarely confined to exactly where it’s visible. By the time a stain appears or carpet feels damp underfoot, water has often already traveled further than expected, behind walls, under flooring, into adjacent rooms. Moisture mapping is the process restoration professionals use to find all of that hidden moisture before deciding what needs to be dried, removed, or rebuilt.
What Moisture Mapping Actually Is
Moisture mapping is a systematic inspection process that documents moisture levels throughout a property using specialized tools, creating an accurate picture of exactly how far water damage extends, not just where it’s visibly obvious. Rather than guessing based on what’s visible, a technician methodically checks walls, floors, and ceilings throughout the affected area and beyond, recording specific readings at each point.
The Tools Used in Moisture Mapping
Pin-type moisture meters use two small probes inserted slightly into a material (like drywall) to measure electrical resistance, which correlates to moisture content. These provide precise readings at specific points but require small punctures in the surface.
Non-invasive (pinless) moisture meters use electromagnetic sensing to measure moisture content without penetrating the surface, useful for quickly scanning larger areas or surfaces where you don’t want to create any punctures, like finished flooring or painted walls in unaffected areas being checked as a baseline comparison.
Thermal imaging cameras detect temperature differences across a surface, since wet areas often show up as cooler than surrounding dry areas due to evaporative cooling. This allows technicians to scan an entire wall or ceiling quickly and identify areas that warrant closer inspection with a moisture meter, without needing to check every single point manually.
Hygrometers measure relative humidity in the air, which helps assess overall environmental conditions in a room and informs decisions about dehumidification needs, separate from moisture readings in the actual building materials.
Why Mapping the Full Extent of Damage Matters
Water travels along the path of least resistance, which often means horizontally along porous materials, downward due to gravity, and sometimes upward through capillary action (wicking) in materials like drywall and certain flooring types. This means water from a single source, a burst pipe, a roof leak, a ceiling failure, can affect an area far larger than where it initially became visible. A thorough moisture map typically reveals damage extending into adjacent rooms, up or down through floor and ceiling cavities, or laterally along baseboards well beyond the visibly wet section of carpet or flooring. Without this kind of comprehensive mapping, a repair might address only the obviously wet area while leaving moisture in adjacent materials that continues to cause problems, sometimes resurfacing later as mold, covered in more detail in our guide on why mold can come back after remediation.
How Moisture Mapping Informs the Restoration Plan
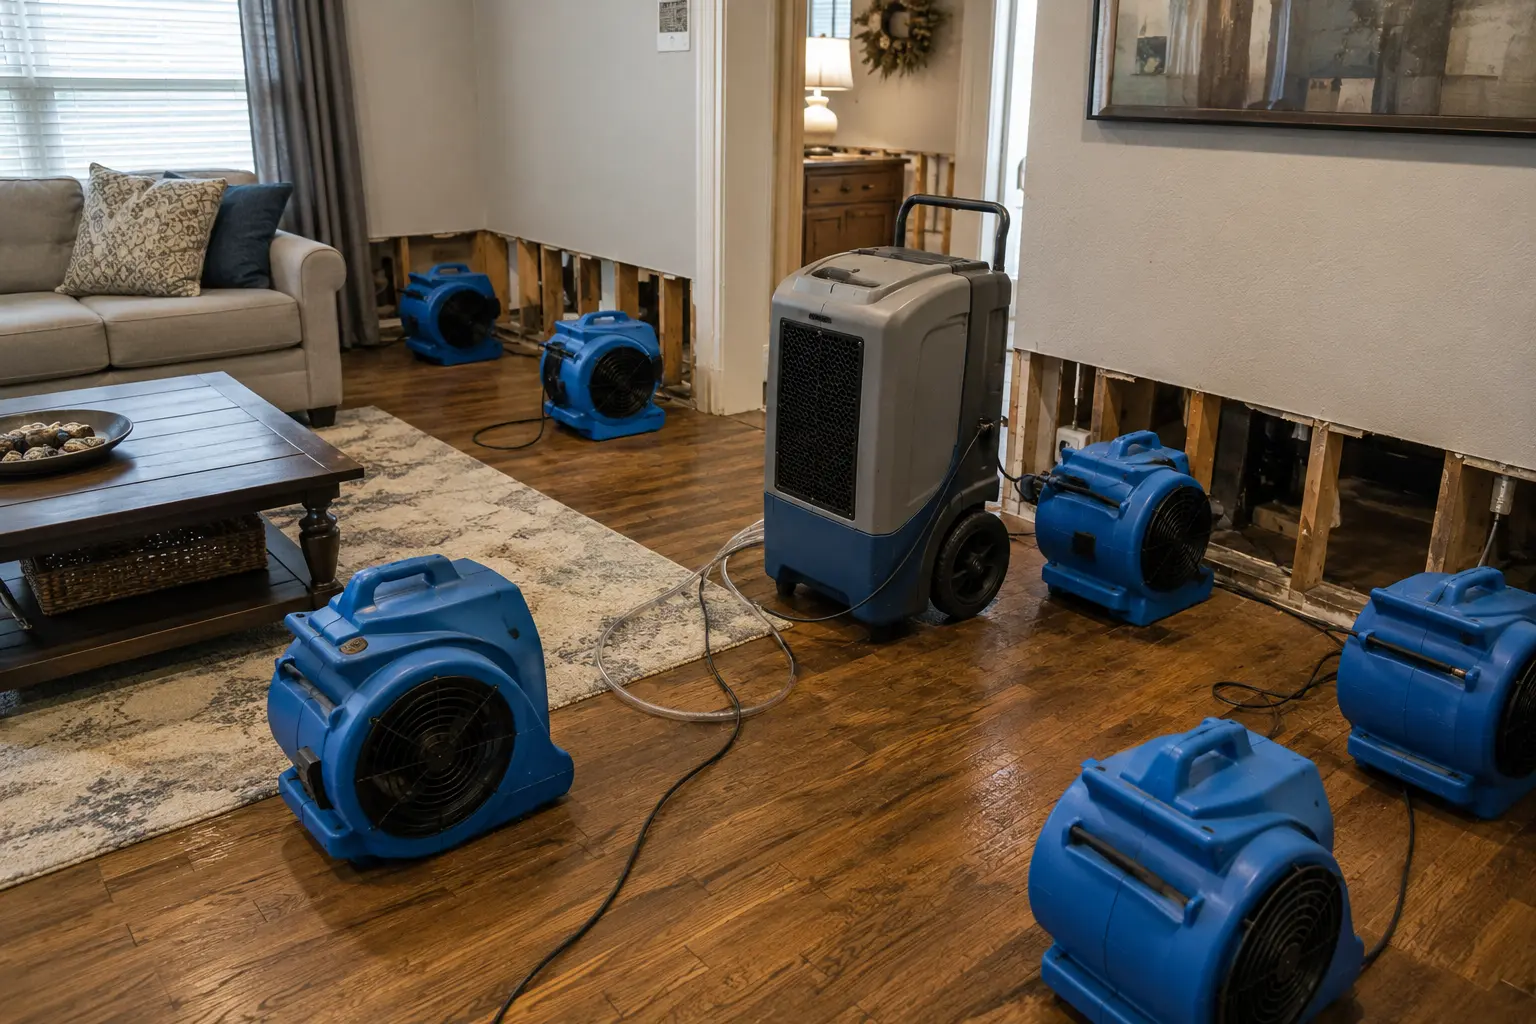
The data collected during moisture mapping directly drives several key decisions: which materials can be dried in place versus need to be removed, how much equipment (air movers, dehumidifiers) is needed and where it should be placed for maximum effectiveness, the realistic timeline for the structural drying process based on materials and moisture levels found, and confirmation, once drying is underway, of when the structure has actually reached a safe, dry baseline ready for rebuilding.
A Practical Example: Ceiling Leak Moisture Mapping
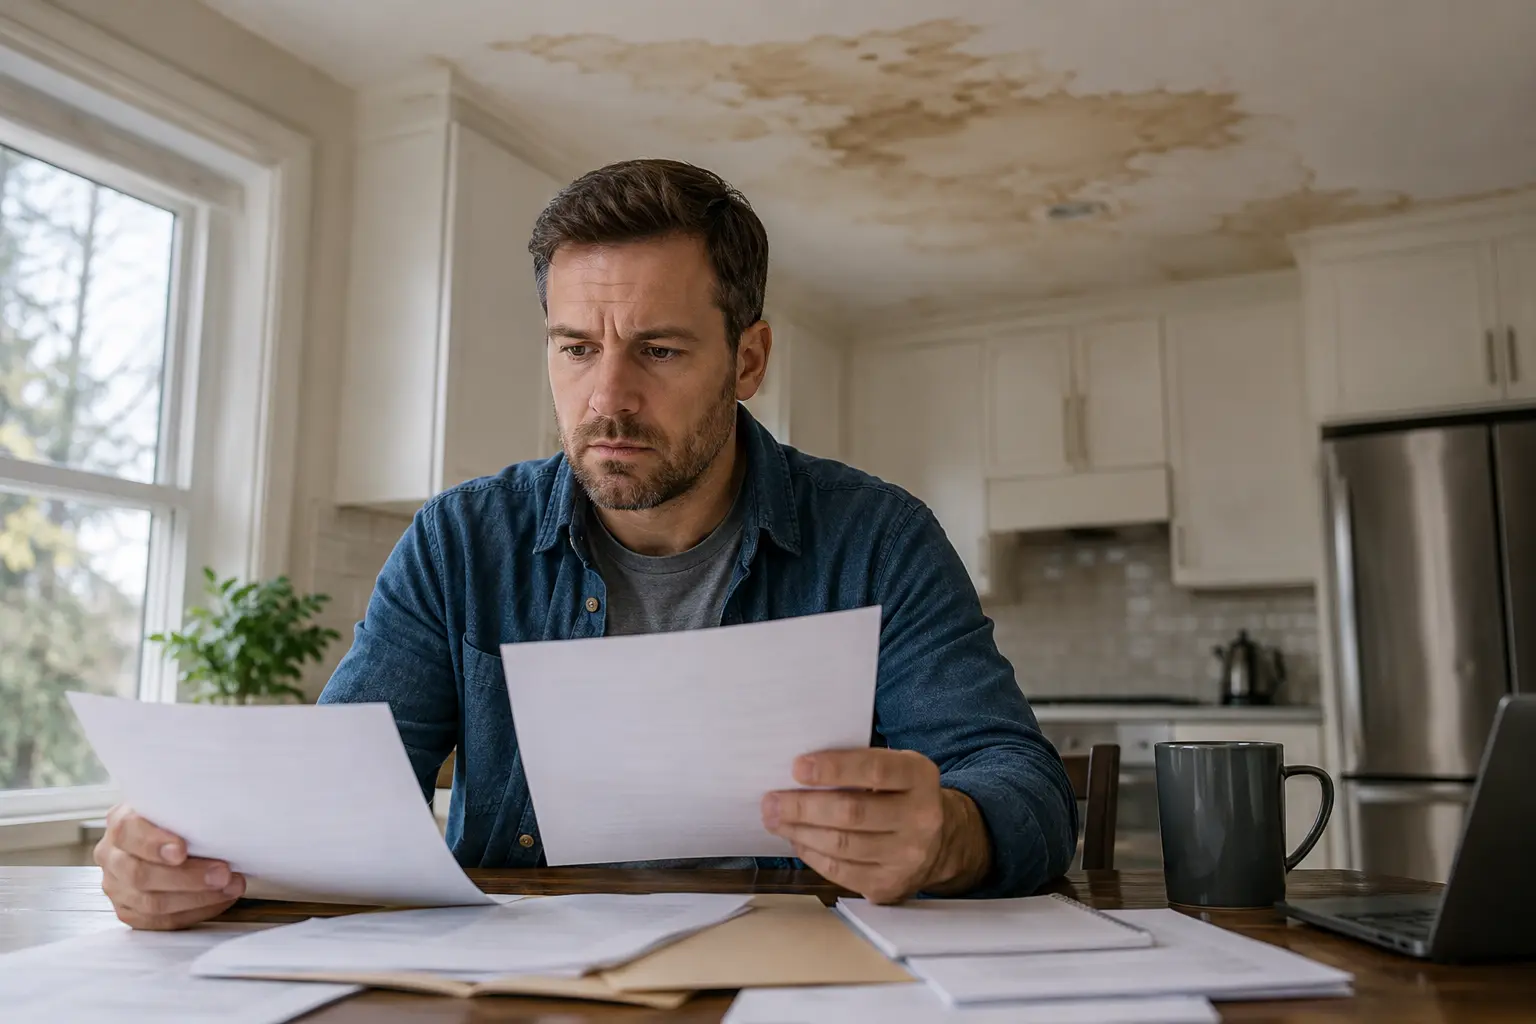
Consider a ceiling stain in a living room caused by a leak above. A thorough moisture mapping process wouldn’t stop at the visible stain. A technician would check moisture levels at multiple points across the ceiling, extending outward from the visible stain, since water often spreads further than the discoloration suggests. They’d check adjacent wall tops where the ceiling meets the wall, since water frequently travels along this junction. If accessible, they’d check the attic space directly above to assess insulation and roof decking condition. They might also check the floor directly below, since in some cases water can continue traveling downward through floor cavities if the ceiling assembly allows it. This comprehensive approach is exactly what’s covered in more detail in our guide on ceiling water damage repair, since the visible stain is often just the starting point for a much more thorough assessment.
Why Documentation Matters Beyond Just Guiding the Repair
Detailed moisture mapping reports, with specific readings at specific locations and dates, serve a second important purpose beyond guiding the technical work: they provide objective documentation for insurance claims. Rather than a vague description like “the ceiling and some of the wall were wet,” a proper moisture map gives specific readings at specific points, supporting a more accurate and defensible insurance claim. This kind of documentation also protects you if a dispute arises later about whether drying was actually completed thoroughly before restoration work began.
How Often Should Readings Be Taken During the Drying Process?
For an active drying job, daily moisture readings are standard practice, allowing technicians to track progress and identify if any area is drying more slowly than expected (which might indicate a need for additional equipment, a change in approach, or further investigation into a possible ongoing moisture source rather than residual moisture from the original event). Some companies now supplement daily in-person checks with remote sensors that provide more continuous data between visits, though final verification readings confirming a space is ready for restoration are typically still taken in person.
Can You Do Basic Moisture Checks Yourself?
Inexpensive consumer-grade moisture meters are available and can give a rough sense of whether an area feels unusually damp, useful for an initial check if you’re unsure whether a stain or area warrants professional attention. However, these tools generally don’t offer the precision or systematic mapping approach a professional inspection provides, and they won’t tell you how far damage extends beyond the immediately visible area. For any meaningful water damage event, professional moisture mapping remains the more reliable way to understand the true extent of damage before deciding on a repair approach. For a broader list of warning signs worth watching for in your own home, see our guide on signs of hidden water damage.
How Moisture Mapping Protects You During a Property Sale or Purchase
Moisture mapping isn’t only relevant after an active water damage event. It’s also increasingly used as a due diligence tool when buying or selling a property, particularly in older Los Angeles neighborhoods where a property may have a history of unaddressed water intrusion, deferred maintenance, or past water damage that wasn’t professionally remediated. A pre-purchase moisture inspection using the same tools described above can reveal residual moisture in walls, floors, or ceilings that suggests past or ongoing water issues not visible to the naked eye and not disclosed by the seller. Similarly, sellers who have previously addressed water damage professionally, with documented moisture readings confirming the work was thorough, are in a stronger position to demonstrate that a known prior event was properly resolved, rather than leaving a buyer to speculate about whether the old stain on the ceiling was ever actually fixed correctly.
What Thermal Imaging Can and Can’t Detect
Thermal imaging is often discussed as if it directly detects moisture, but it’s worth understanding what it actually does and where its limits are. A thermal camera detects surface temperature differences, not moisture itself. Wet areas often appear cooler than surrounding dry areas because evaporating moisture creates a cooling effect on the surface. However, this means thermal imaging works best when moisture is actively evaporating, which generally means relatively recent or ongoing moisture. Old, dried-out damage that left behind only staining (with no residual moisture to create a temperature differential) may not show up on thermal imaging at all, and conversely, a cool area on a thermal scan might have a cause other than moisture, such as a gap in insulation or a cold air leak. This is why thermal imaging is used as a screening tool to guide where to take moisture meter readings, not as a standalone determination of where damage is or isn’t present.
How Moisture Mapping Reports Support Legal and Dispute Situations
In situations where water damage leads to a legal dispute, such as a landlord-tenant disagreement about the extent or cause of damage, a contractor dispute about whether drying was completed properly before rebuilding began, or an insurance bad faith claim, detailed moisture mapping documentation becomes significant evidence. Specific readings, with locations, dates, and equipment used, establish an objective factual record that’s far more defensible than general descriptions of what was wet or dry. For property owners or managers who anticipate any potential dispute about a water damage event, requesting and keeping copies of all moisture reports from the restoration company from the beginning of the job, rather than asking for them after the fact, is strongly advisable.
How Different Wall and Ceiling Materials Read on Moisture Meters
Understanding how different building materials behave under moisture testing helps you follow along with a technician’s assessment rather than just accepting numbers you can’t interpret. Different materials have different acceptable moisture content ranges, and a reading that would be perfectly normal in one material might indicate significant moisture in another.
Standard drywall typically reads between 5% and 12% moisture content when dry, depending on the specific meter and conditions. Readings above 17% generally indicate moisture that warrants drying attention. Saturated drywall often reads in the 20-30% range or higher and typically needs to be removed rather than dried in place, since the paper backing degrades and the gypsum loses structural integrity at high moisture levels.
Wood framing and subfloor has a target moisture content that depends on regional climate norms, since wood naturally equilibrates to the surrounding environment. In the Los Angeles climate, dry wood typically reads around 8-12% moisture content. Readings above 19% indicate moisture levels that support mold growth in wood, and readings above 28% indicate the wood is in the “fiber saturation” range where structural properties begin to degrade. A thorough drying job tracks framing readings specifically because mold can develop in wood at lower moisture levels than many people expect.
Concrete slabs are measured differently, often using relative humidity readings taken from probes inserted into the slab, since surface-only readings don’t accurately reflect moisture throughout the slab’s depth. A wet concrete slab beneath finished flooring can take significantly longer to dry than other materials, sometimes weeks for a fully saturated slab, and this is often the limiting factor in drying jobs that involve ground-level or below-grade spaces.
Moisture Mapping in Older Los Angeles Buildings
Older properties throughout neighborhoods like Highland Park, Echo Park, Boyle Heights, and Mid-City present specific moisture mapping challenges worth knowing about. Many of these homes have plaster walls rather than drywall, which behaves differently under moisture meters and requires adjusted reference ranges. Some have original hardwood flooring over wood subfloor systems that are more susceptible to long-term moisture damage than newer construction. Older galvanized or cast-iron plumbing is more prone to slow pinhole leaks that create gradual, hidden moisture accumulation over months or years rather than the dramatic, immediately-obvious failures of a burst pipe. In these properties, moisture mapping sometimes reveals not just the effects of a recent event but evidence of older, previously unaddressed moisture issues that have been accumulating quietly, which affects both the restoration scope and potentially the insurance claim discussion.
How Moisture Mapping Interacts With Mold Assessment
Moisture mapping and mold assessment are related but distinct processes, and it’s worth understanding how they connect. Moisture mapping identifies current and recent moisture presence. Mold assessment, which may involve air sampling or surface sampling, identifies whether microbial growth has already occurred. A space can have elevated moisture without yet having visible or detectable mold (if the moisture event is very recent) and, conversely, can test positive for mold spores even after moisture levels have returned to normal, since spores persist after the moisture that caused them has dried out. For a complete picture of a property’s condition after a significant water event, particularly one involving any delay before mitigation began, both moisture mapping and mold assessment together provide more complete information than either alone. This connection is explored in more detail in our guide on why mold can come back after remediation.
What to Ask About a Company’s Moisture Mapping Process
- What tools do you use for moisture mapping, and do you check beyond the visibly affected area?
- Will I receive a copy of the moisture readings and where they were taken?
- How do you determine when an area has reached a safe, dry baseline?
- Do you use thermal imaging to check for hidden moisture before any demolition decisions are made?
A company with a clear, confident answer to each of these questions has a genuinely thorough process. If you’re dealing with water damage anywhere in Los Angeles, our team uses comprehensive moisture mapping on every job to make sure nothing gets missed before drying, demolition, or rebuilding decisions are made.
Notice water damage and unsure how far it extends? Call ASAP Water Damage Restoration for a thorough moisture assessment, available 24/7 across Los Angeles.
Keep reading
- Water Extraction vs Water Removal: What’s the Difference?
- Water Mitigation vs Water Restoration: What’s the Difference?
- How to Get Rid of Water Damage Odor in 2026
Need help now? See our Structural drying services or call (323) 677-2811, 24/7.